Why did I choose ProxMox/ KVM? #
For starters, ProxMox is a widely known open source hypervisor in the industry. When looking for a hypervisor solution for my PSOD(Pink Screen of Death) home lab, I was unsure of which FREE solution to go with. For many years VMWare ESXi provided their free tier hypervisor known as vSphere, which unfortunately as of Feburary 2024 was discontinued. This left me to look for another alternative that is both widely known, has support, a decent web UI and that does a good job. My time consuming google and reddit searches narrowed down the results to the KVM and XCP-NG hypervisors.
To clarify, KVM and XCP-NG are both Type 1 hypervisors. In addition, a GUI manager would need to be installed on top. The most utilized GUI managers I found for each was ProxMox for KVM and Xen Orchestra for XCP-NG. Given this information, I spent my efforts comparing both of these options to. One helpful resource I found was a video from YouTuber Lawrence Systems which I will link right below below.
To keep it short, Lawrence Systems gives a skimmed comparison on the web gui interfaces and the differing capabilities. In addition to this, I came across quite a few Reddit posts of other sys admins having either a better experience with ProxMox compared to XCP-NG or just about the same. Ultimately KVM was more widely regarded in the enterprise environments, it supports both windows and Linux environments and has great similarities to VMWare esxi which is what led to my decision with ProxMox.
Preparing Proxmox install #
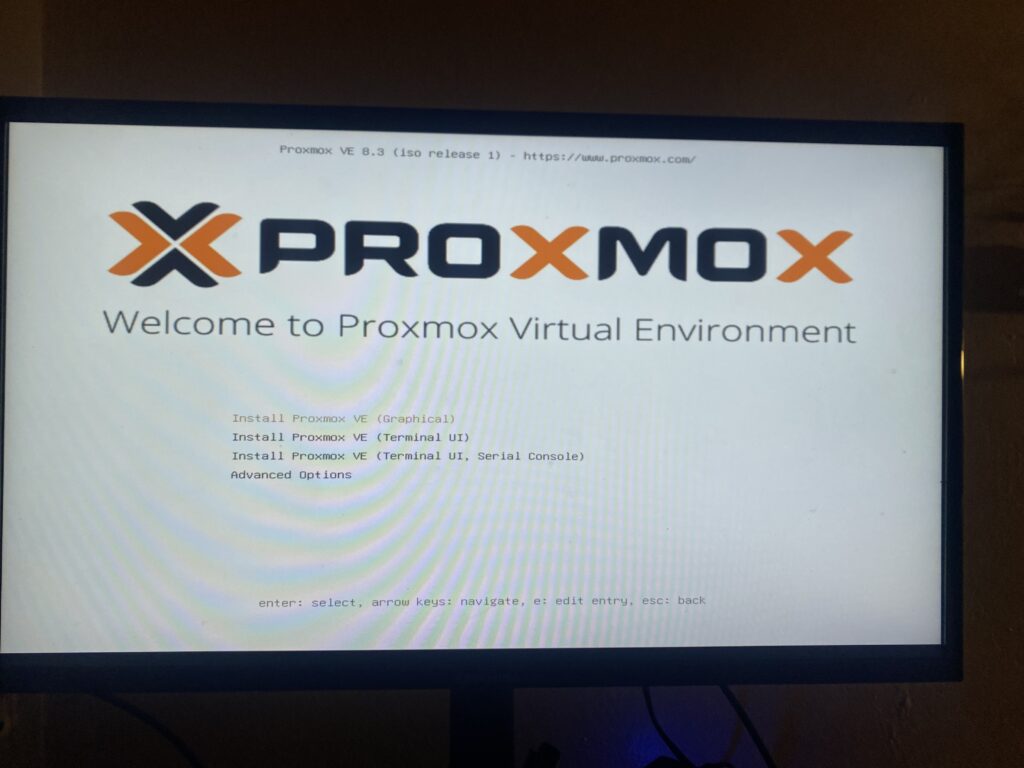
First things first, I need to prepare the media that will be used to install this bare metal software onto my Dell PowerEdge r730xd. I opted to use my EXTERNAL Seagate 2tb HHD, which I will make as bootable media utilizing Rufus and with the latest ProxMox iso kindly provided for free at https://www.proxmox.com/en/downloads/proxmox-virtual-environment/iso
FYI – ProxMox iso comes with KVM installed into the image, so this iso alone is what will need to be used for installation.
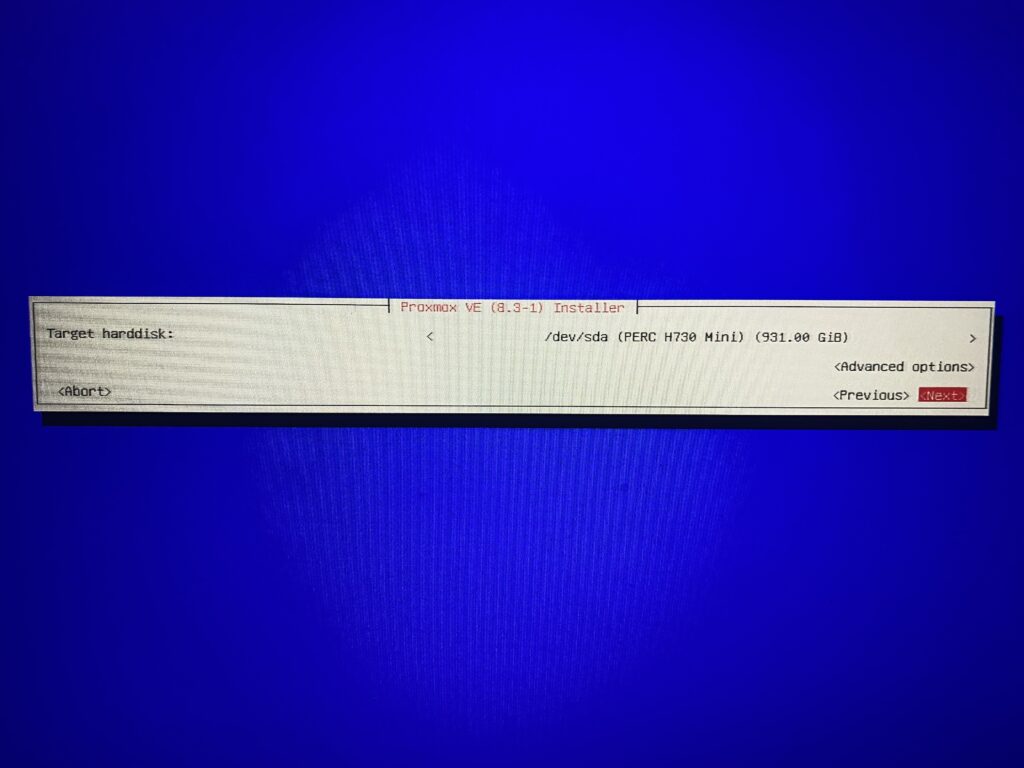
Once my Seagate External drive has been formatted, I can boot up my Dell PowerEdge R730XD and boot into the LifeCycle Controller where I will be able to configure RAID and then proceed with the OS installation. For starters, I will be configuring RAID 0 on a singular Samsung Evo 1TB SSD.

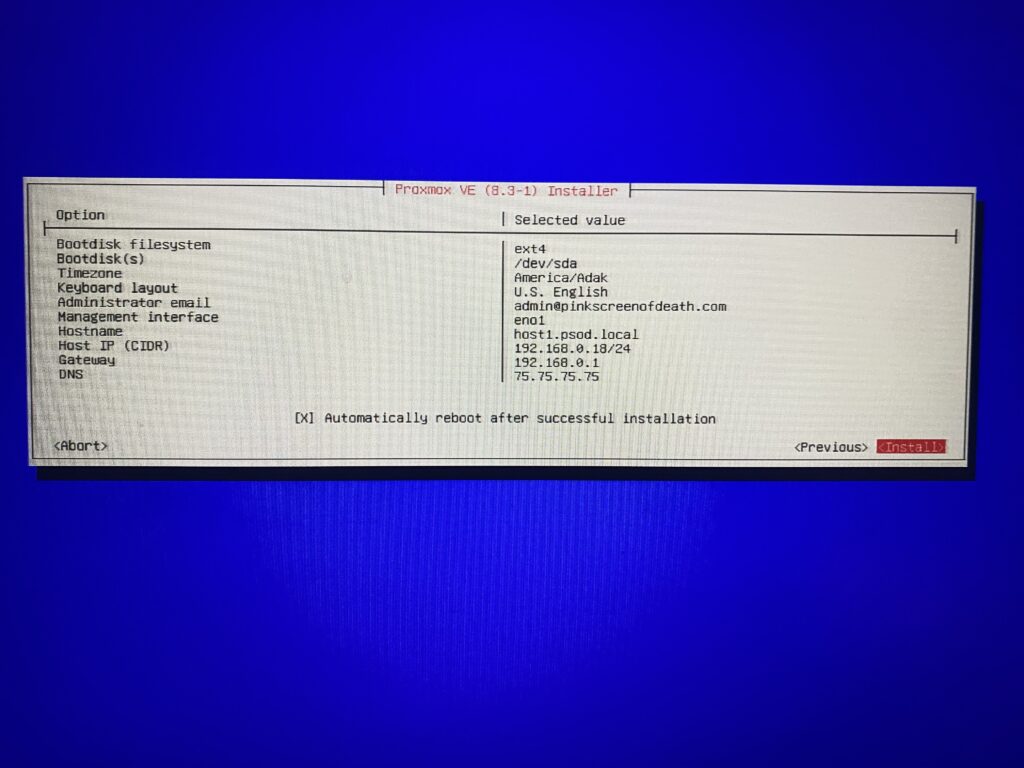
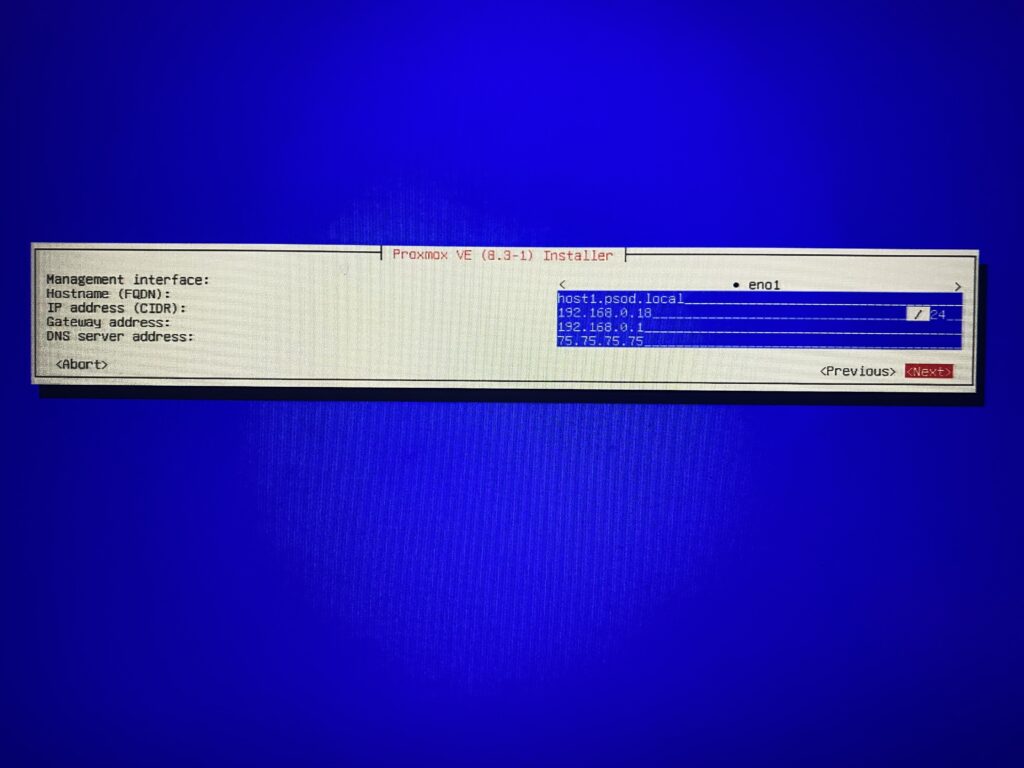

All settings were configured. The DHCP assigned IP for the proxmox server in my network is 192.168.0.18 but in order to securely acccess the server via web UI, we need to use port 8006 so in order to access web UI I type {IP address “:” port #}. For example https://192.168.0.18:8006

Great, now I can access KVM on the web browser of my laptop. I have labeled my Dell PowerEdge R730XD as Host 1. I am almost done, just need to confirm installation was successful by connecting to the web interface.

As this is a new install, SSL certificate is not installed. I know I can trust my own server, so I proceed to Advanced on the bottom left.

I am immediately entered into the KVM web interface. All is needed now is my login credentials I set during configuration.
Conclusion #
Based on my personal research, KVM was one of the best FREE type 1 hypervisors available. I strongly suggest your own research be done to ensure your desired hypervisor is best suited to support your network environment. All in all, I found my experience installing ProxMox KVM to be fairly easy and straight forward to do.
Now, onto the fun part- installing and setting up the virtual machines I will be running on Host 1.
Thank you for taking the time to read this documentation and hope it has been informative. Please continue to browse my other docs if you have not done so already. 🙂