Pre- Installation Steps #
- One of the greatest perks of pfSense is that it is FREE. In order to download the iso image, Netgate requires you to create an account without payment info. Download on Netgate’s website can be found here.
- Another thing to note is that the iso file provided by Netgate will come with the .gz zip extention. I utilized 7zip software which can be downloaded for FREE on their website here.
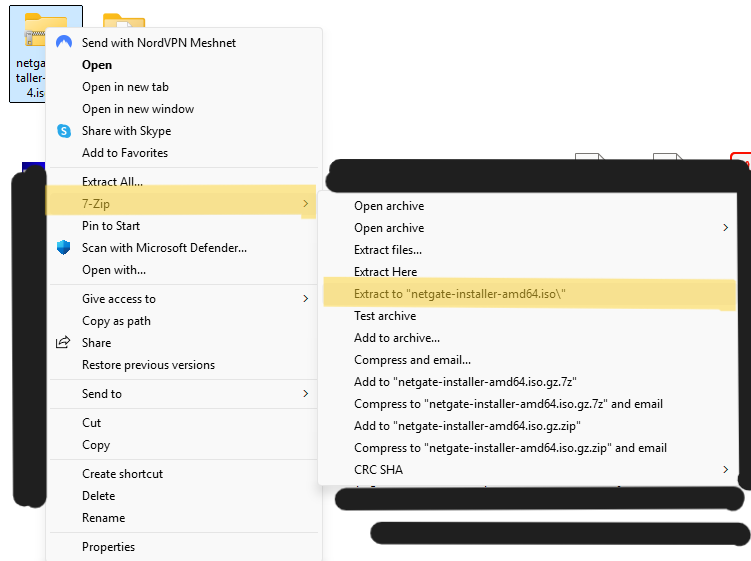
- Once pfsense iso AND 7zip are downloaded, you can navigate to the download on FileExplorer(if youre on windows), right click the zipped folder onto see more, then under 7zip you will see option to extract as iso
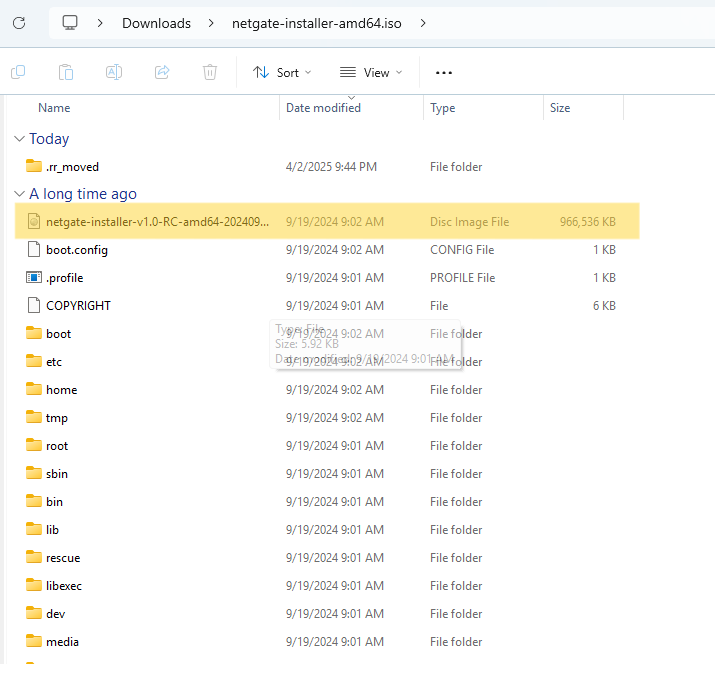
- Once folder is extacted, pfSense image will be available to upload into Proxmox. See images right below for visuals.
Installation Steps #
Uploading iso onto Proxmox server #
To begin, I will navigate to the Proxmox web interface. The pfSense install iso will need to be intalled onto the Proxmox server and luckily I can upload it to the server from my local laptop. I will need to navigate to Datacenter > host1 > local > storage
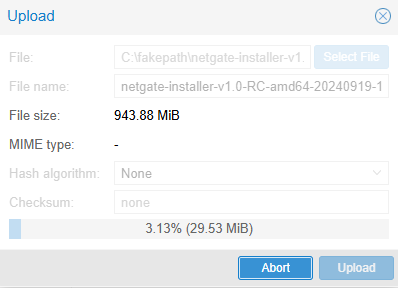
As you can see from the screenshot, iso has been uploaded from my local c drive folder onto the server.
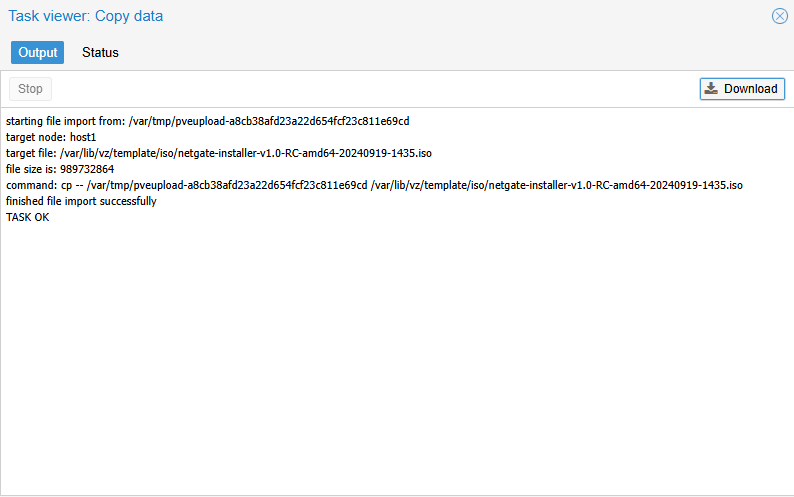
Import successful! Now that the image is stored on the server, I can proceed to create the pfSense virtual machine.